I would like to say it took a lot of deliberation to decide on what to do. However, I enjoy the process of linocutting. My final piece is to be based on an A2 image cut in lino and then pressed into clay. The issue I have after talking it through will be kiln space as it all gets busy towards the end of the year.
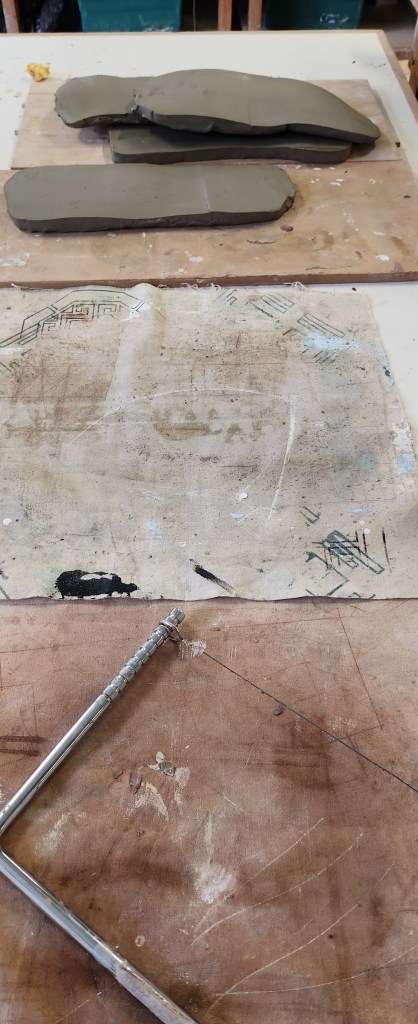
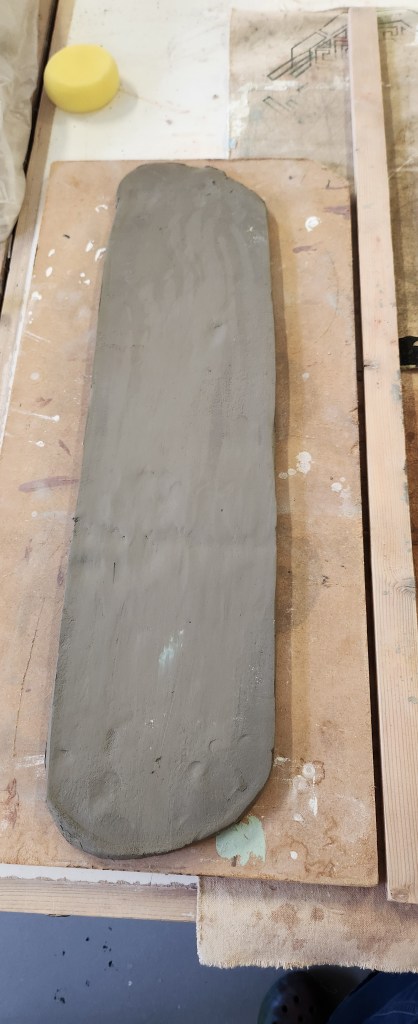
My proposal is to make up one image in 5 different slabs of clay, that way they can be stacked in the kiln if necessary, making it easier to fill the kiln for firings.
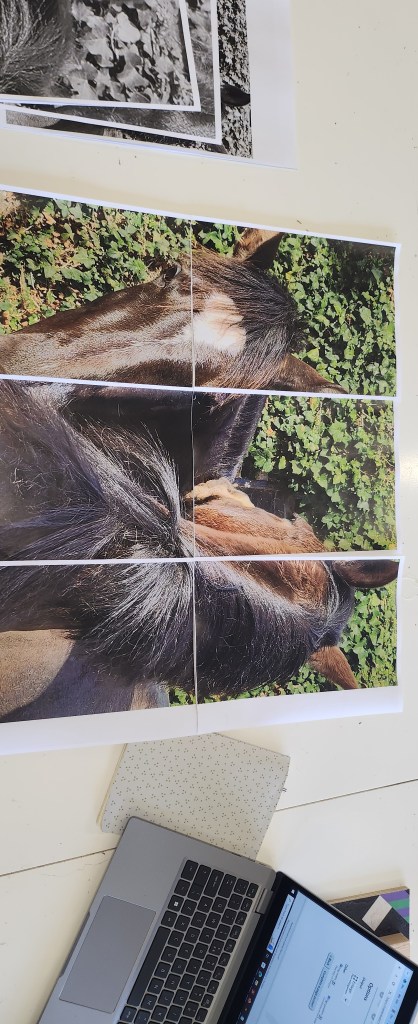
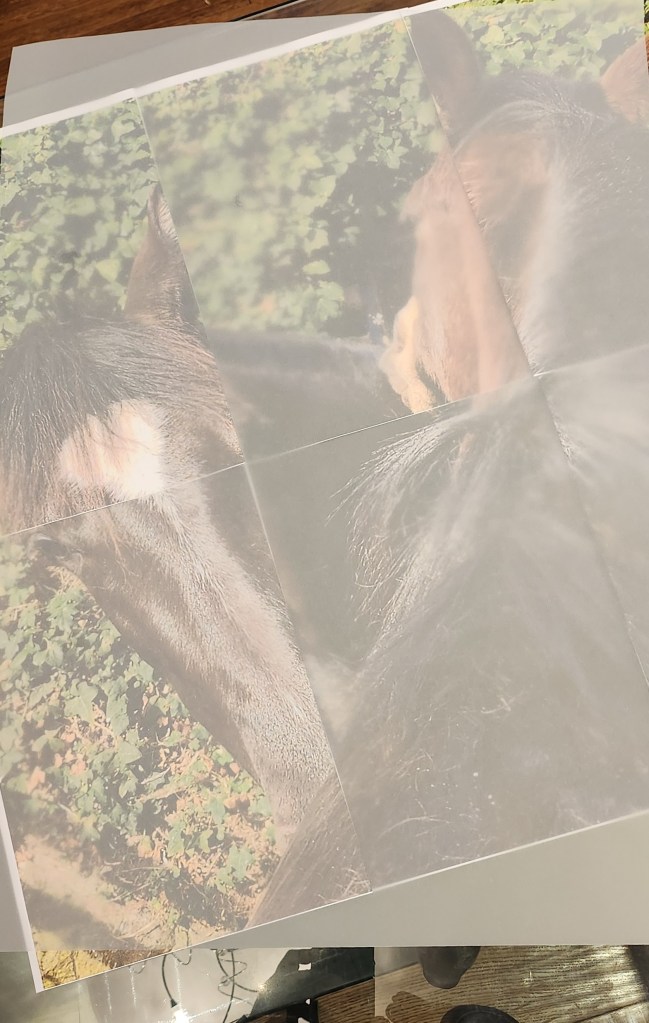
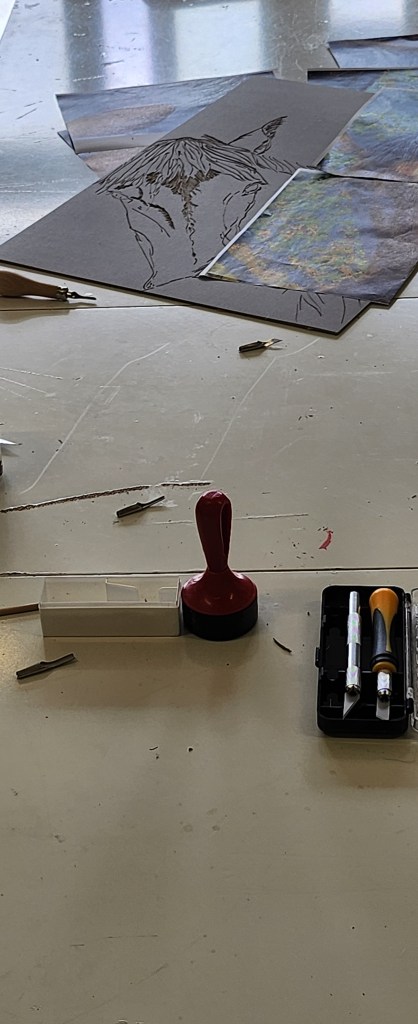
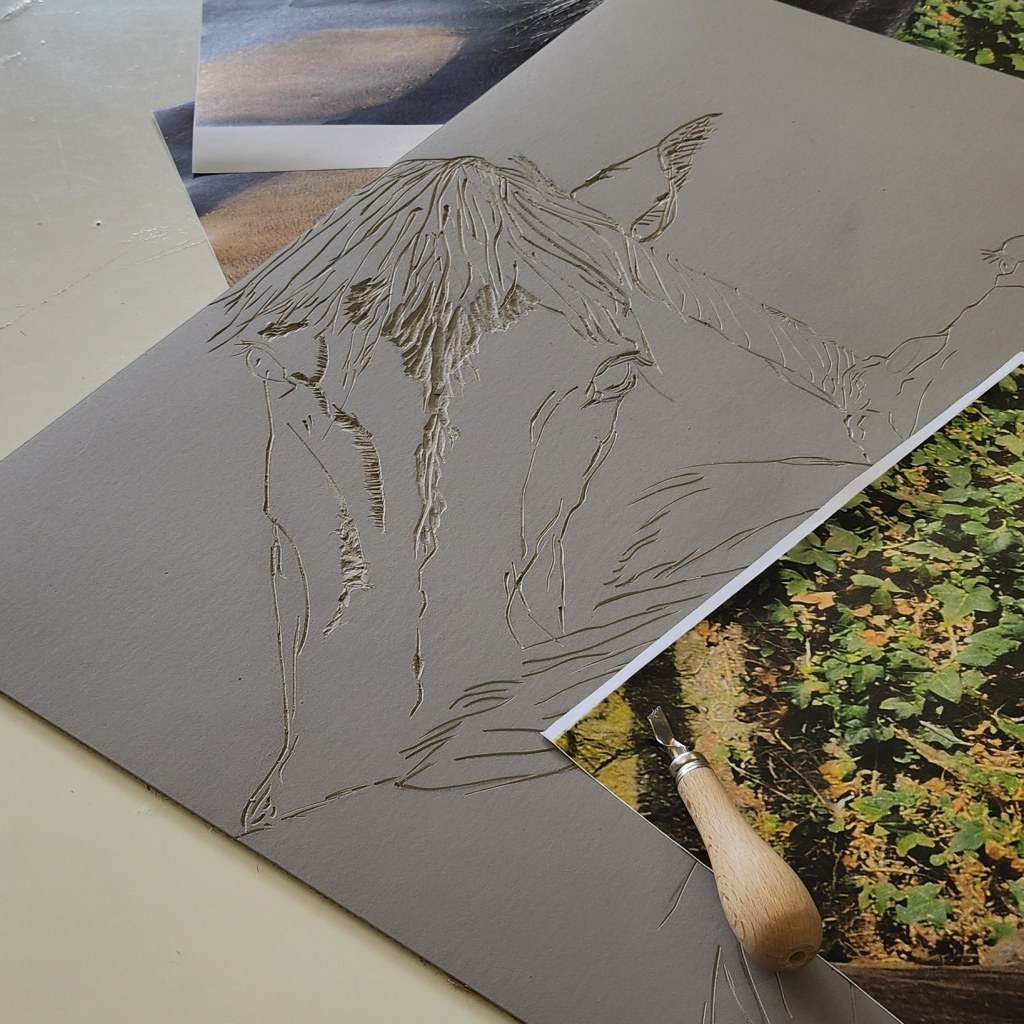
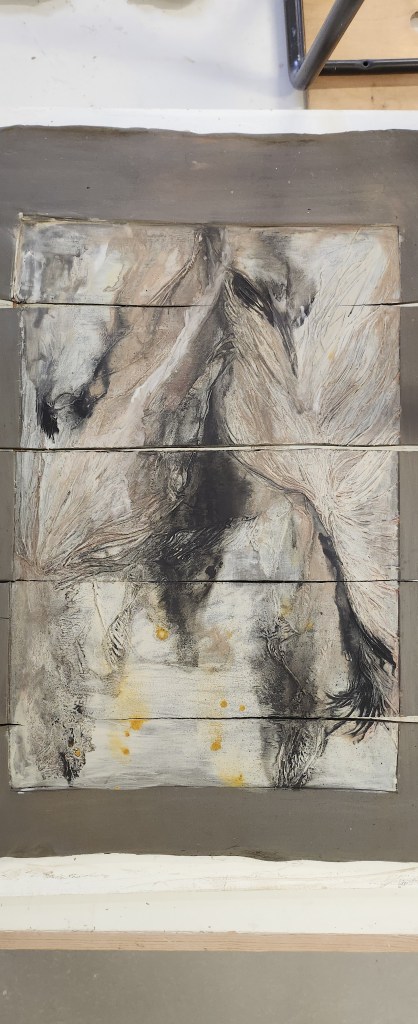
I chose the picture of my two mares scratching, then worked out the best angle to trace it so that it had a bit of an interesting abstract feel.
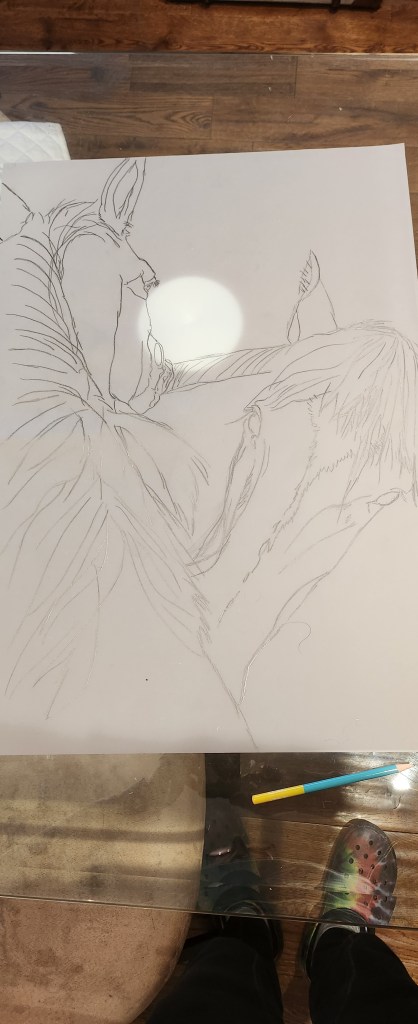
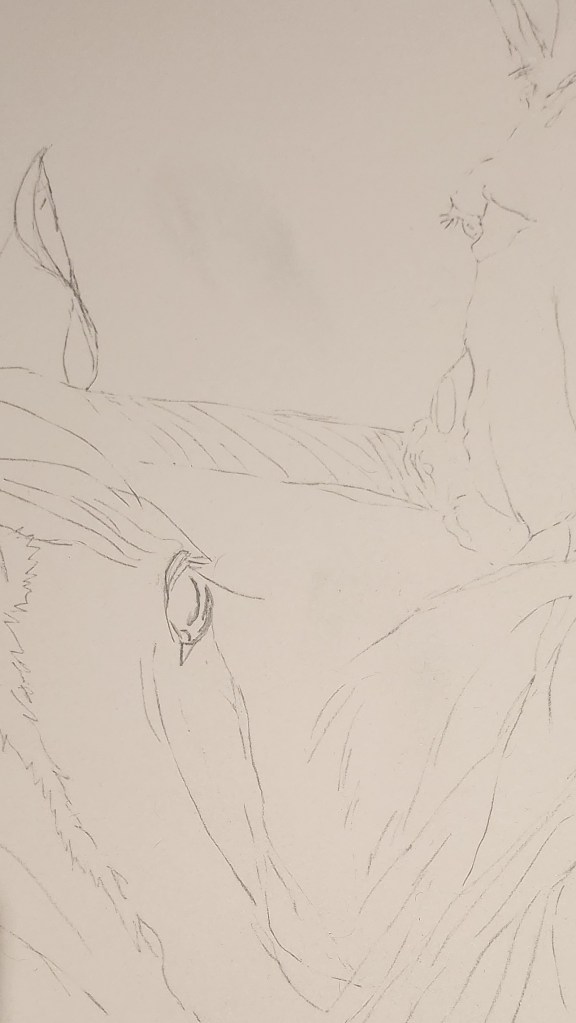
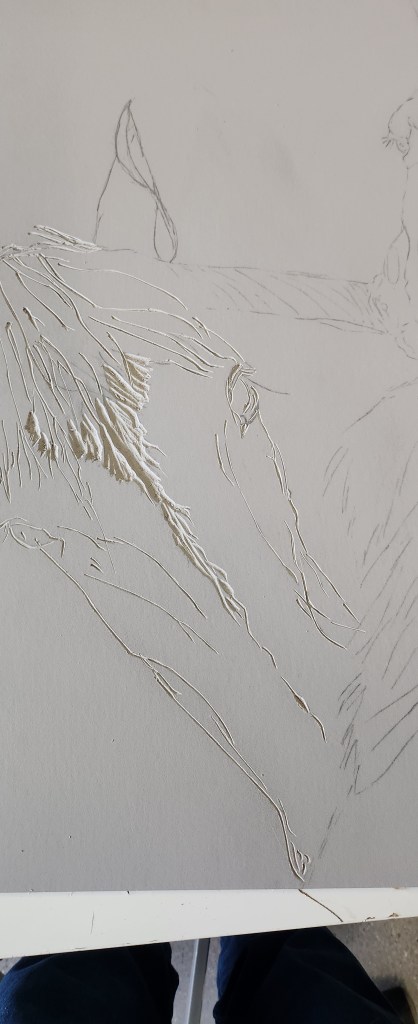
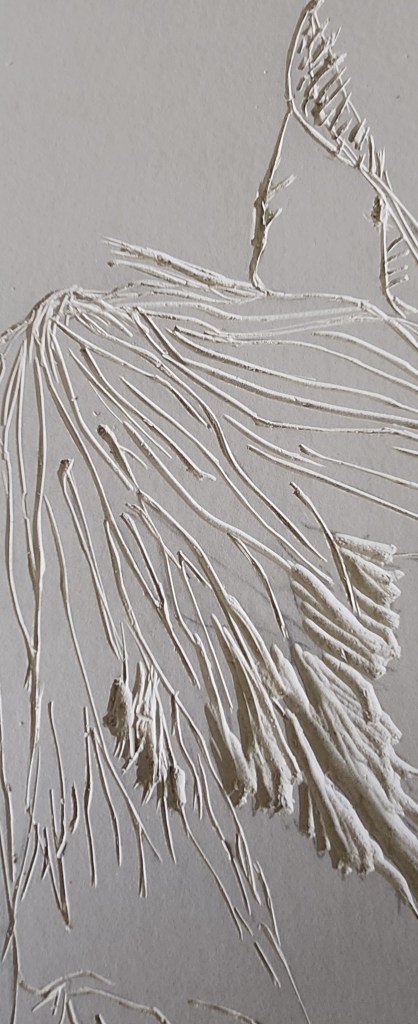
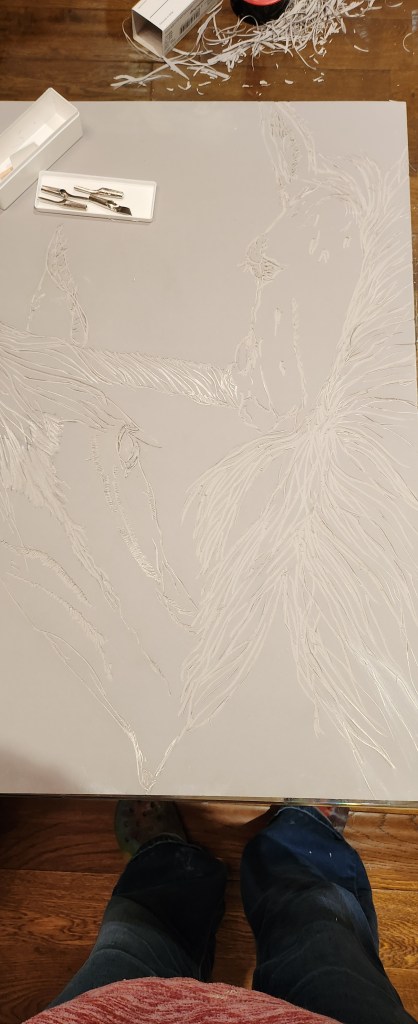
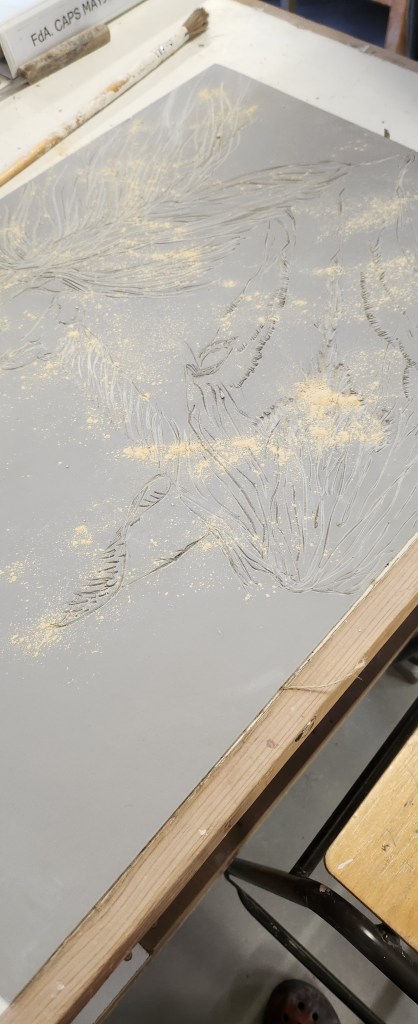
It took me three days to cut the detail in to the lino deep enough to be pressed into the clay. I decided this time, to just cut out the highlights on the image, to try and define bone structure and seperation of the two horses.

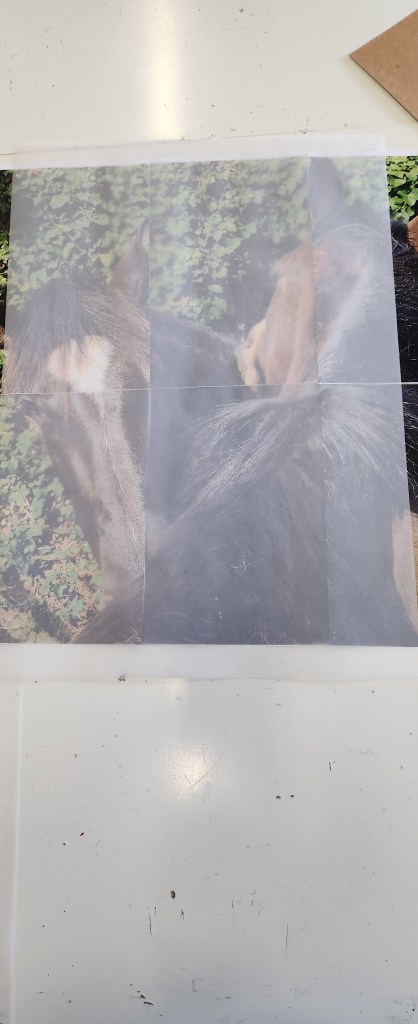
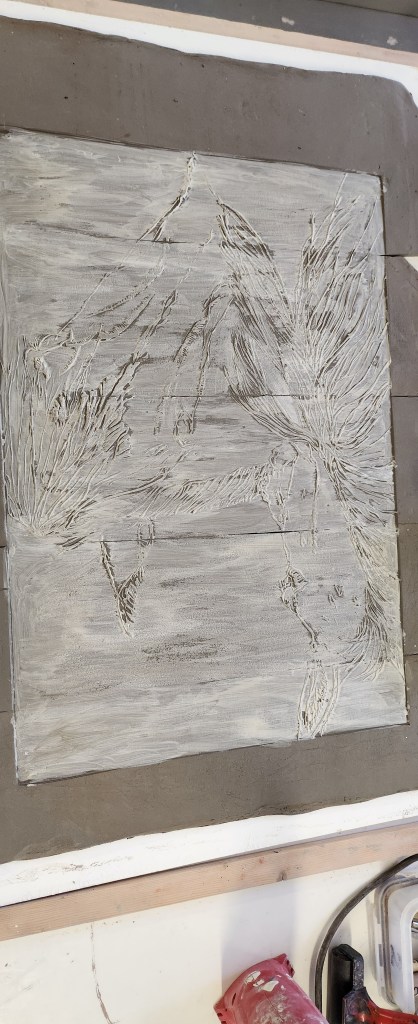
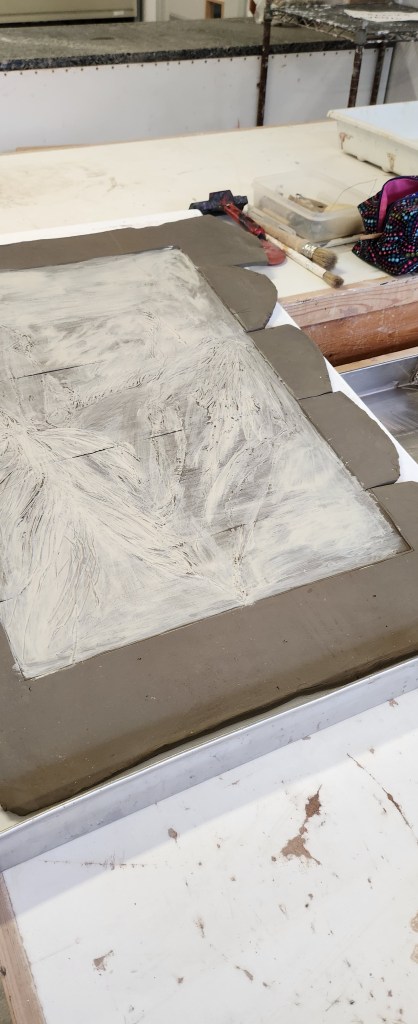
The first set of slabs I covered all of them with white slip and then rolled the lino into them. I had two problems, one of my horses hadn’t really been cut deep enough into the lino and got lost in the slip, and secondly I hadn’t used enough pressure to roll the lino into the clay, it could have gone deeper.

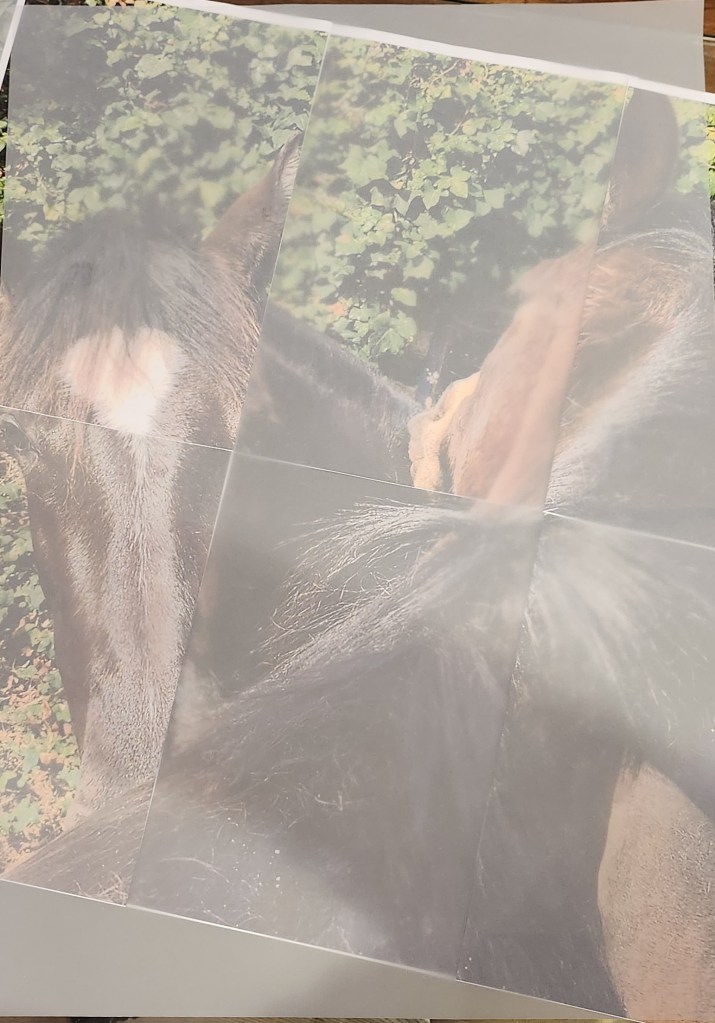
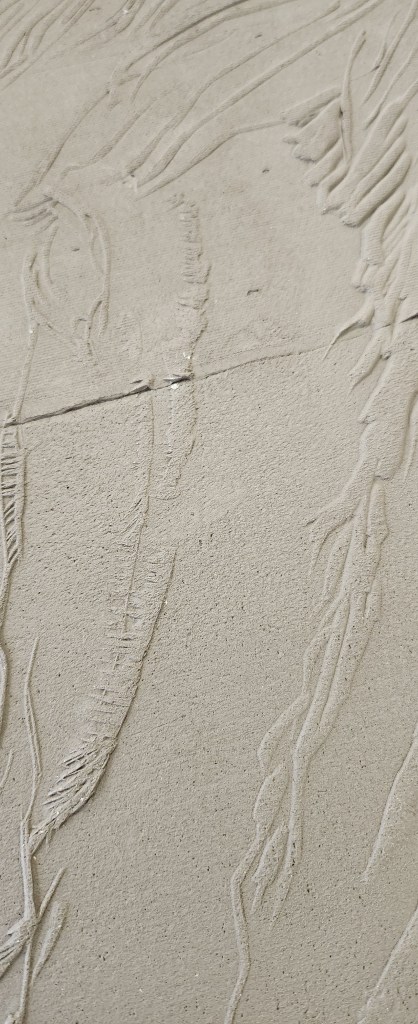
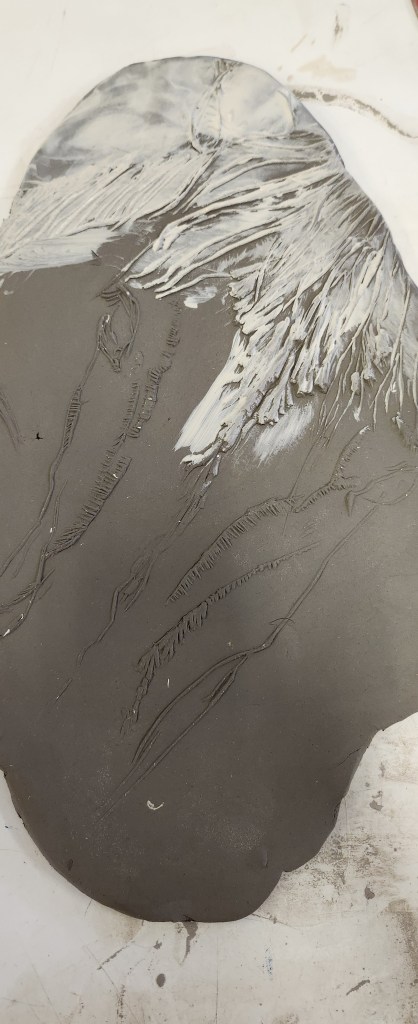
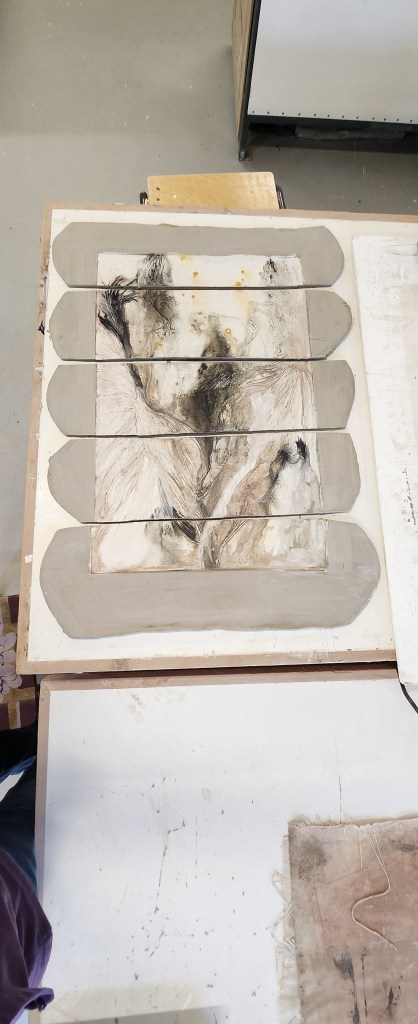
Back to the drawing board I cut more boldly into the detail on the second horse. Then this time pressed the lino into the second set of clay slabs before adding white slip, which I only did in the centre.
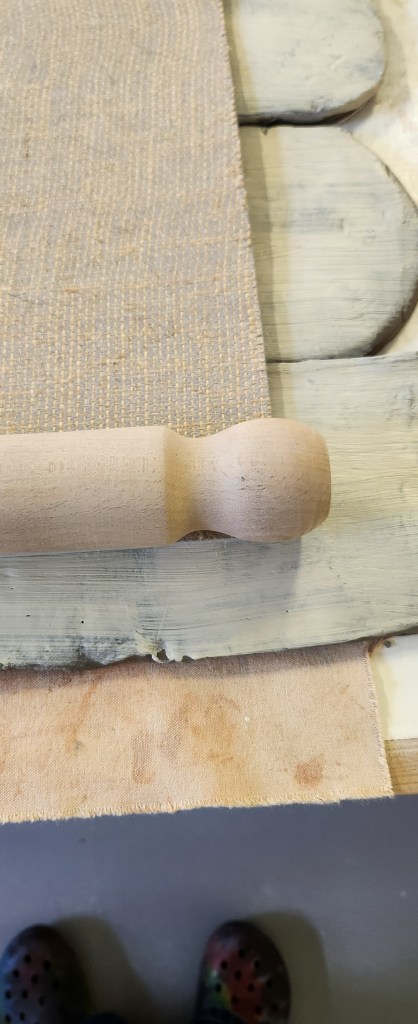
It wasn’t as easy as it sounds to press, as even using the heavier roller, we ended up kneeling on the table to get the right pressure down on the roller.
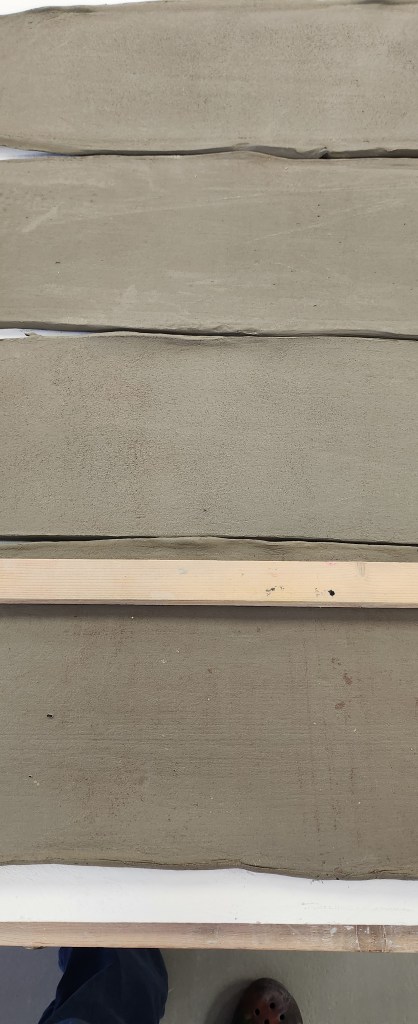


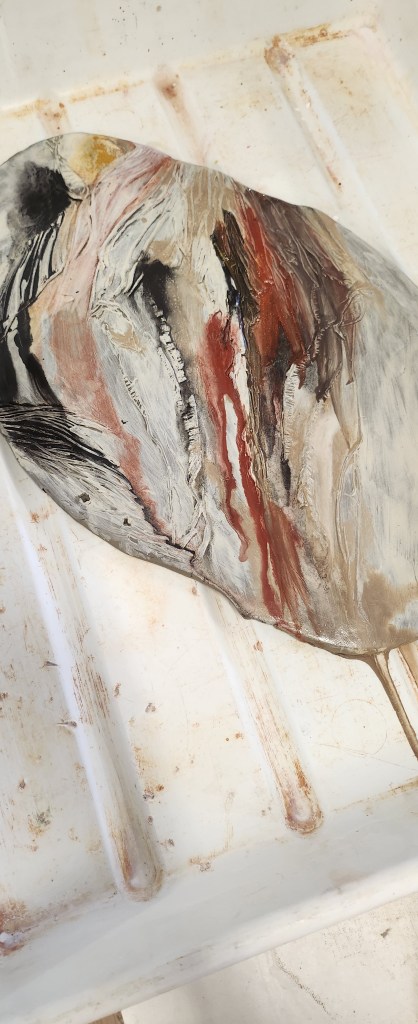
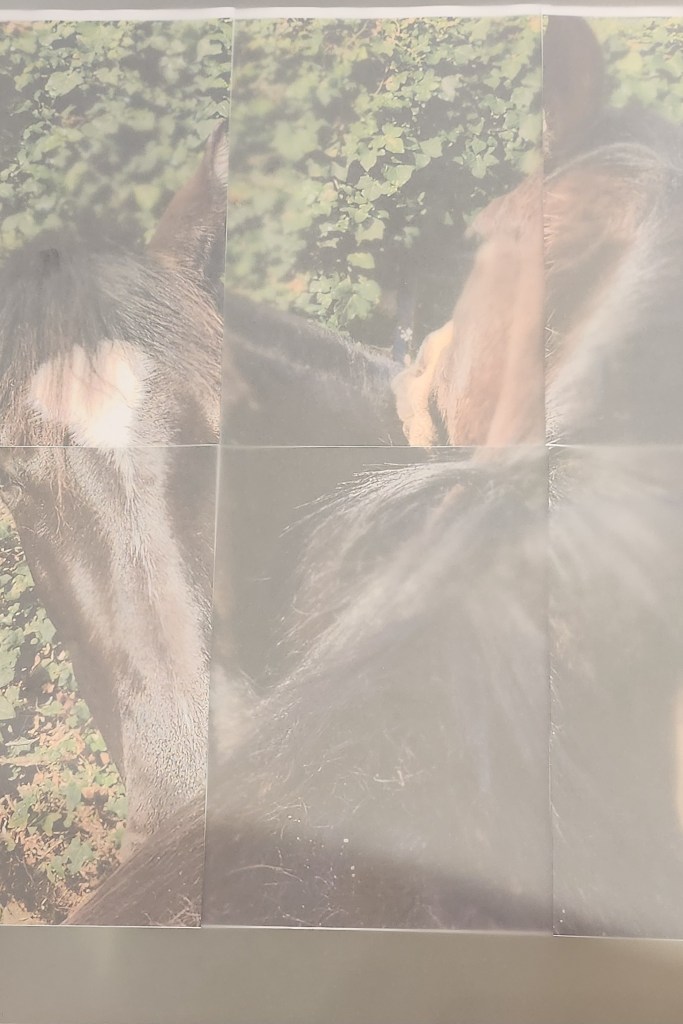
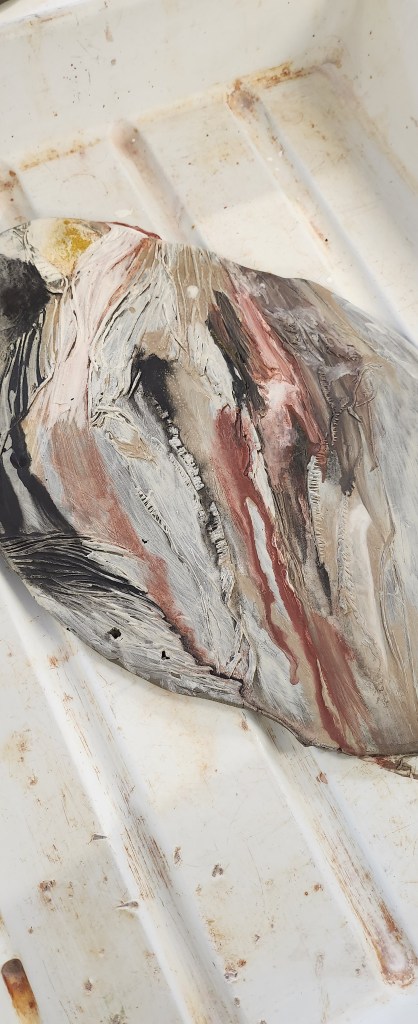
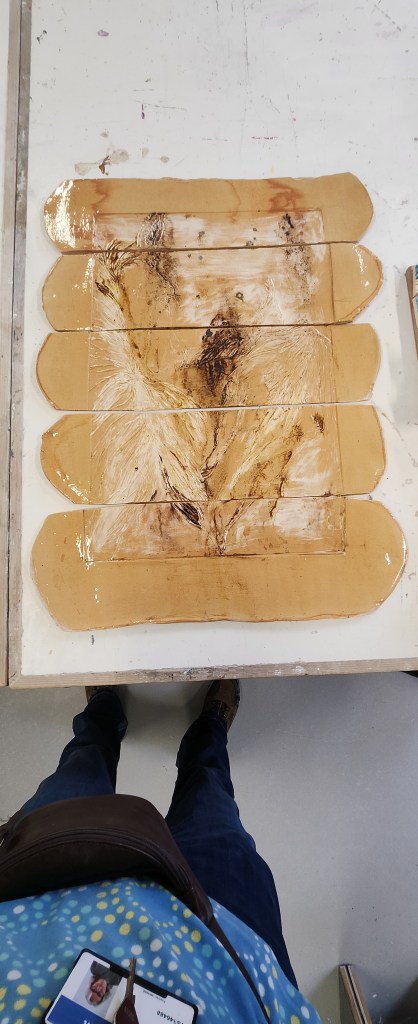
After practice, it was time to do the main slabs. The first set of slabs I did each one individually, the issue here was to try match the oxide patterns when I sprayed them with water and used the blower to get the direction of the colour.

I decided to find a tray big enough for the whole of the second set of slabs to go in as one piece of work and apply the oxides in a way that unified the patterns more. I still sprayed with water and used a blower to direct the flow of the oxides as I tipped up the tray. The issue with this is one of the bottom corners seemed to attract all the water and the clay cracked so and emergency repair needed to be done.
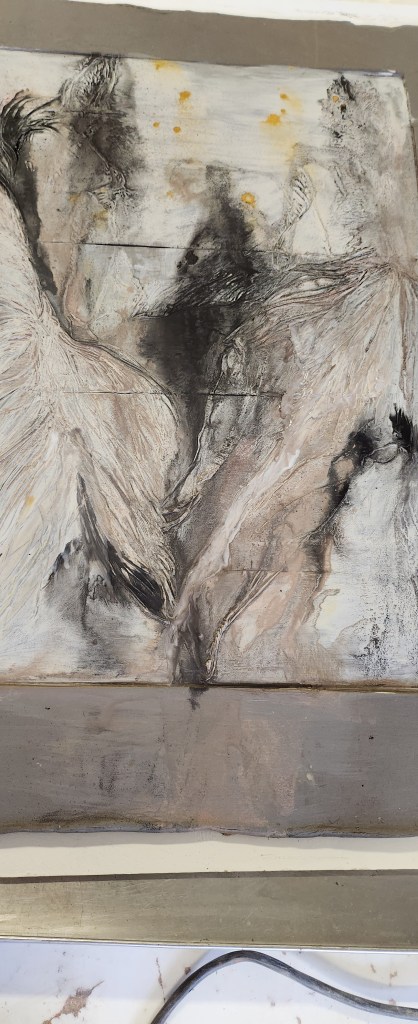

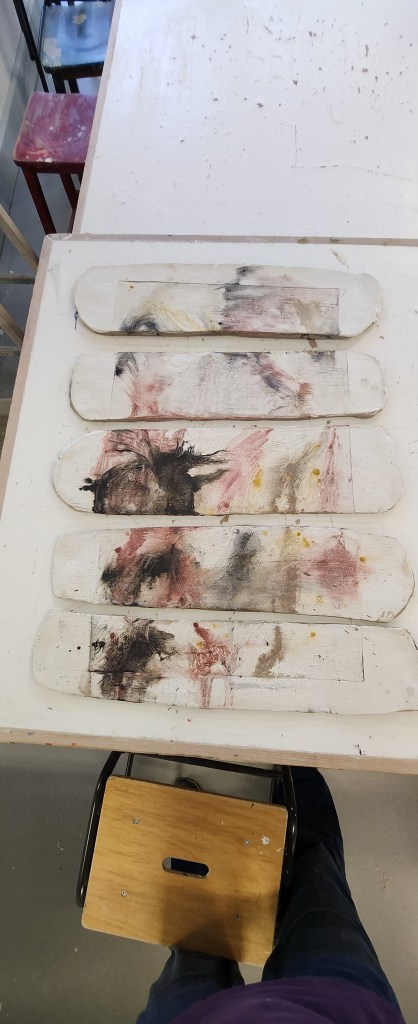
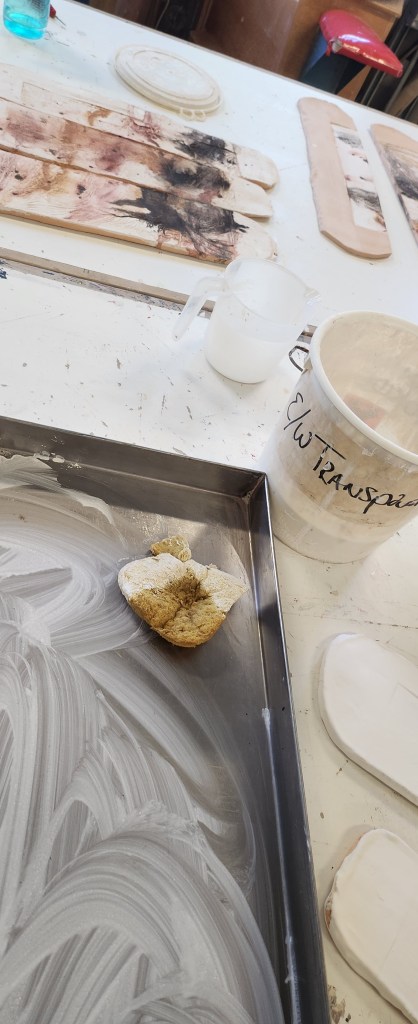
I was extremely pleased with how they came out of the bisque firing. Next step was to pour earthenware transparent glaze over each individual slab. My pouring technique is not the best as I am very cack handed but I am relieved to say I managed a reasonably even covering on each of the ten slabs.

The final fired pieces came out really well, the oxides had dulled a little but they were still very vibrant. I am really pleased that each piece are unique.
Doing this again I would definitely say the second way I approached the piece by pressing lino into bare clay, then adding the slip and the oxides after is the preferred and more logical approach.
